Gallery:Sana Anime Screenshots: Difference between revisions
Jump to navigation
Jump to search
Nagisa-chan (talk | contribs) m (Nagisa-chan moved page Sana Anime Screenshots to Gallery:Sana Anime Screenshots) |
Nagisa-chan (talk | contribs) mNo edit summary |
||
| Line 84: | Line 84: | ||
==Episode 11== | ==Episode 11== | ||
<gallery> | <gallery> | ||
File:Episode_11_Sana_Conversation_2.png | File:Episode_11_Sana_Conversation_2.png|Sana from Episode 11 | ||
File:Episode_11_Yachiyo's_Gift_5.png | File:Episode_11_Yachiyo's_Gift_5.png | ||
File:Episode_11_Yachiyo's_Gift_11.png | File:Episode_11_Yachiyo's_Gift_11.png | ||
| Line 95: | Line 95: | ||
==Episode 18== | ==Episode 18== | ||
<gallery> | <gallery> | ||
File:S2EP5_BlackFeather1.jpg | File:S2E5 Infinite Hospital Bed 5.png|Ryo and Sana from Episode 18 | ||
File:S2EP5_BlackFeather1.jpg|Sana and Felicia | |||
</gallery> | </gallery> | ||
Revision as of 15:39, 2 September 2021
Image gallery of Sana Futaba.
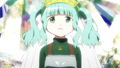
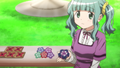
Episode 9
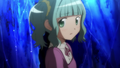
Sana as the invisible girl from Episode 9

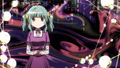
Sana and the Uwasa of the Anonymous AI
Sana names the Uwasa Ai
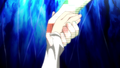
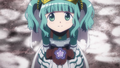
Sana's Soul Gem ring
Sana disappears

Couldn't be a family

Couldn't make friends
Couldn't become parent and child
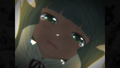
Couldn't be me
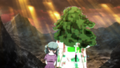
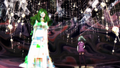
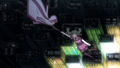
Sana jumps into the Endless Solitude
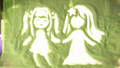
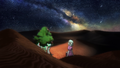
A drawing of Sana and Ai
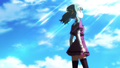

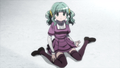
Sana's magical girl form

Sana loses her crown
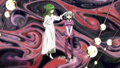
Ai takes on the appearance of Sana
Ai gives Sana her own crown
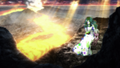
Sana kills Ai


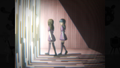
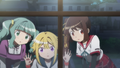
Episode 10
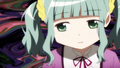
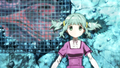
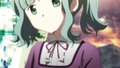
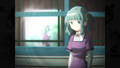
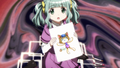
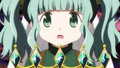
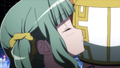
Sana in Episode 10
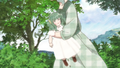
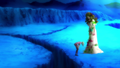
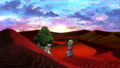
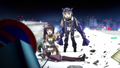
Iroha catches Sana
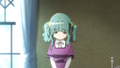


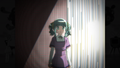
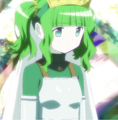
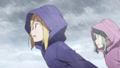
Episode 11
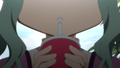
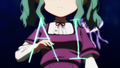
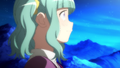
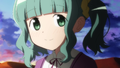
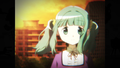
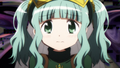
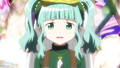
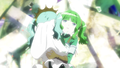
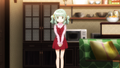
Sana from Episode 11
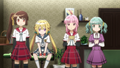


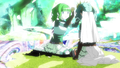
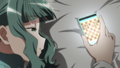
Episode 18
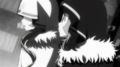
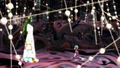
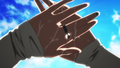
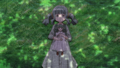
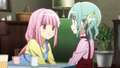
Ryo and Sana from Episode 18
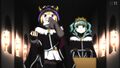
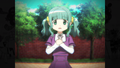
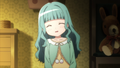
Sana and Felicia

