Gallery:Homura: Difference between revisions
m (→Original Anime) |
m (→Manga) |
||
| Line 246: | Line 246: | ||
==Manga== | ==Manga== | ||
===Original Manga=== | |||
<gallery> | <gallery> | ||
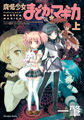
File:Manga_Vol.1_Cover.jpg|[[Puella Magi Madoka Magica Manga|Manga]] cover, volume 1 | File:Manga_Vol.1_Cover.jpg|[[Puella Magi Madoka Magica Manga|Manga]] cover, volume 1 | ||
| Line 252: | Line 253: | ||
File:PMMM_Manga_Gamers_Bonus.jpg | File:PMMM_Manga_Gamers_Bonus.jpg | ||
File:Mmbonus3.jpg | File:Mmbonus3.jpg | ||
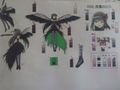
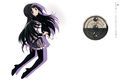
File:145.jpg|An illustration of Homura with her shield | File:Manga_izabel_barrier.png | ||
File:Manga_roberta.png | |||
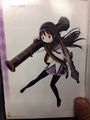
File:145.jpg|An illustration of Homura with her differently designed shield | |||
</gallery> | |||
===Wraith Arc=== | |||
<gallery> | |||
File:Puella_Magi_Wraith_Arc_Vol_1_Cover.jpg|[[Puella Magi Madoka Magica: Wraith Arc|Wraith Arc]] cover, volume 1 | File:Puella_Magi_Wraith_Arc_Vol_1_Cover.jpg|[[Puella Magi Madoka Magica: Wraith Arc|Wraith Arc]] cover, volume 1 | ||
File:Wraitharc2jpn.jpg|[[Puella Magi Madoka Magica: Wraith Arc|Wraith Arc]] cover, volume 2 | File:Wraitharc2jpn.jpg|[[Puella Magi Madoka Magica: Wraith Arc|Wraith Arc]] cover, volume 2 | ||
| Line 266: | Line 272: | ||
File:Homura WA final attack 2.png | File:Homura WA final attack 2.png | ||
File:Homura WA ending.png | File:Homura WA ending.png | ||
</gallery> | |||
===The Rebellion Story=== | |||
<gallery> | |||
File:Rebellion_Manga_Vol_1_Cover.jpg|[[Puella Magi Madoka Magica the Movie: Rebellion Manga|Rebellion manga]] cover, volume 1 | File:Rebellion_Manga_Vol_1_Cover.jpg|[[Puella Magi Madoka Magica the Movie: Rebellion Manga|Rebellion manga]] cover, volume 1 | ||
File:Rebellion_Manga_2.jpg|Rebellion manga cover, volume 2 | File:Rebellion_Manga_2.jpg|Rebellion manga cover, volume 2 | ||
File:Rebellion_Manga_Vol_3_Cover.jpg|Rebellion manga cover, volume 3 | File:Rebellion_Manga_Vol_3_Cover.jpg|Rebellion manga cover, volume 3 | ||
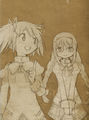
File: | File:Manga_Homulilly_1.png|A glimpse of [[Homulilly|Homura's witch]] during her fight with Mami | ||
File: | File:Manga_Half_witch_homura.png|Half witch Homura | ||
File: | File:Manga_Homu_witch_2.png | ||
File:Manga_Cdolls_8.png | |||
</gallery> | |||
===The Veranda of Madoka=== | |||
<gallery> | |||
File:The_Veranda_of_Madoka_Vol_1_Cover.jpg|[[The Veranda of Madoka]] cover, volume 1 | File:The_Veranda_of_Madoka_Vol_1_Cover.jpg|[[The Veranda of Madoka]] cover, volume 1 | ||
File:The_Veranda_of_Madoka_Vol_2_Cover.jpg|The Veranda of Madoka cover, volume 2 | File:The_Veranda_of_Madoka_Vol_2_Cover.jpg|The Veranda of Madoka cover, volume 2 | ||
| Line 287: | Line 296: | ||
File:Vom_sayahomu_best_combo.png | File:Vom_sayahomu_best_combo.png | ||
File:Vom_homura_is_a_sweetie.png | File:Vom_homura_is_a_sweetie.png | ||
</gallery> | |||
===Welcome to Café Grief Seed!=== | |||
<gallery> | |||
File:Cgs_homu_glasses.png|Homura in [[Welcome to Café Grief Seed!]] | File:Cgs_homu_glasses.png|Homura in [[Welcome to Café Grief Seed!]] | ||
File:Cgs_homuglasses2.png | File:Cgs_homuglasses2.png | ||
File:Cgs_homura.png | File:Cgs_homura.png | ||
File:Cgs_all_5.png | File:Cgs_all_5.png | ||
</gallery> | |||
===Other Manga=== | |||
<gallery> | |||
File:The_Different_Story_3_Cover.jpg|[[The Different Story]] cover, volume 3 | |||
File:Oriko_2_cover_small.jpg|[[Oriko Magica]] cover, volume 3 | |||
File:HomuraPuellaMagiOrikoVersion.png|Homura as she appears in Oriko Magica | |||
File:Madoka magica anthology 2.jpg|Madoka Magica Anthology 2 | |||
File:Homuras_Revenge_1.jpg|[[Homura's Revenge]] cover, volume 1 | |||
File:Homuras_Revenge_Vol.2_Cover.jpg|[[Homura's Revenge]] cover, volume 2 | |||
File:Sute_Ma_Vol_1_Cover.jpg|[[Sute Ma!]] cover, volume 1 | |||
File:Mitakihara_Anti-Materiel_Vol_1_Cover.jpg|[[Mitakihara Anti-Materials]] cover, volume 1 | File:Mitakihara_Anti-Materiel_Vol_1_Cover.jpg|[[Mitakihara Anti-Materials]] cover, volume 1 | ||
File:Mitakihara_Anti-Materiel_Vol_2_Cover.jpg|Mitakihara Anti-Materials cover, volume 2 | File:Mitakihara_Anti-Materiel_Vol_2_Cover.jpg|Mitakihara Anti-Materials cover, volume 2 | ||
| Line 309: | Line 331: | ||
File:PMMM_4Koma_Anthology_1_Cover.jpg|[[Puella Magi Madoka Magica 4Koma Anthology 1|4Koma Anthology]] cover, volume 1 | File:PMMM_4Koma_Anthology_1_Cover.jpg|[[Puella Magi Madoka Magica 4Koma Anthology 1|4Koma Anthology]] cover, volume 1 | ||
File:PMMM_4Koma_Anthology_3_Cover.jpg|4Koma Anthology cover, volume 3 | File:PMMM_4Koma_Anthology_3_Cover.jpg|4Koma Anthology cover, volume 3 | ||
</gallery> | </gallery> | ||
Revision as of 17:27, 25 December 2020
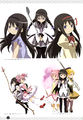
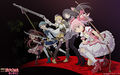
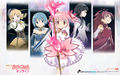
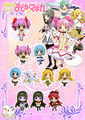
Image gallery of Homura Akemi
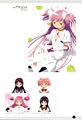
Official art
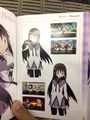
Concept Art
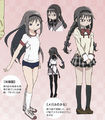
Initial design
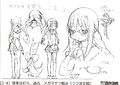
Original character design by Ume Aoki
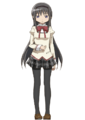
Homura in her school uniform
from the Blu-Ray Volume 2 Booklet
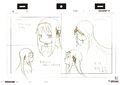
An early Madoka and Homura from the Puella Magi Production Note

Early production sketch of Homura. Note that her surname is shown here as (暁海) instead of (暁美). Both are read as Akemi
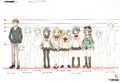
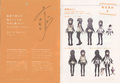
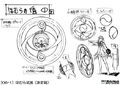
Character height chart
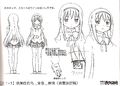
Glasses Homura from the Production Note
Art of Homura with Madoka's ribbons
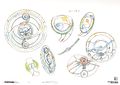
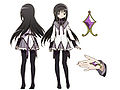
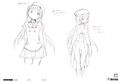
Homura's shield
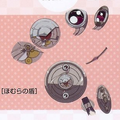
Homura's shield coloured
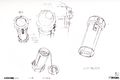
Homura's pipe bombs
Homura's Soul Gem from the Production Note
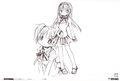
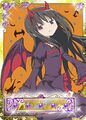
Devil Homura concept art

Homura's dark orb
Postcard by Inu Curry from the Production Note


Posters

Promotional poster from the Dog Association
The first Rebellion poster
The second Rebellion poster
The third Rebellion poster


Homura on the Concept Movie poster from Newtype's January 2016 issue


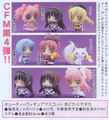
Magazines

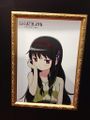
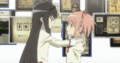
The cover of Megami magazine featuring Homura with Amy

Same magazine with a clearer page
NyanType May 2011

Megami magazine, July 2011
Newtype magazine, July 2011

Megami magazine, March 2012

Art from the Sports Hochi Madoka Special


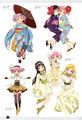
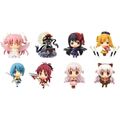
Art by other artists
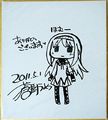
Autographed illustration by Ume Aoki

Replica sign boards by Aoki Ume


Art by Junichiro Taniguchi
Rebellion Week 5 Thank You Card - Back


Promotional Art
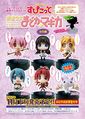
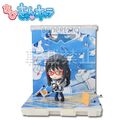
Ichiban Kuji Puella Magi Magiccraft visual board
Aniplex+ Limited Edition Halloween Costume panel

Nitro+ Novel ad


Other Art

Art of Homura and Madoka from the Guidebook


Promotional images from the Beginnings and Eternal Material Book
Art from the Movie guidebook
Nitro+ Novel illustration


Nitro+ Novel illustration by Yuupon
Art of a chibi Homura


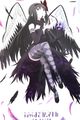
Art of Devil Homura


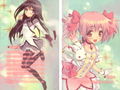
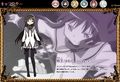
Screenshots
Original Anime
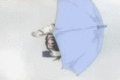
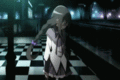
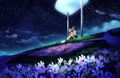
Homura holding an umbrella from the opening

Homura in her hospital room from the movie opening


Homura first appearance in Episode 1 from Madoka's dream

Homura's introduction to the class
Homura shows her intelligence in class

Episode 2 end card by Hekiru Hikawa

Homura being wrapped in ribbon in Episode 3

Charlotte tries to eat Homura


Homura after defeating Charlotte

Homura from Episode 4

Madoka tries to tell Homura to look after Sayaka but she refuses, from Episode 5

Homura interrupts Kyoko and Sayaka's fight
Episode 5 end card by Yupon
Episode 6 end card by Hajime Ueda

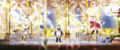
Homura's transformation sequence from Episode 8

Episode 8 end card by Takuya Fujima

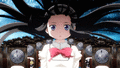
Homura with glasses in Episode 10
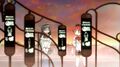
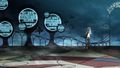
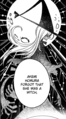
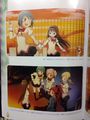
Inside Izabel's labyrinth


Homura coming back after her first time rewind

Homura's transformation sequence
Homura trying out her new time manipulation magic
Homura gets easily tired
Homura is wrapped in ribbon by Mami so she can't manipulate time

Homura changes her outlook

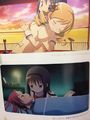
Homura heals her eyes with her magic
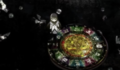
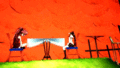
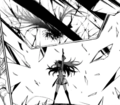
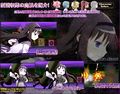
In Roberta's labyrinth

Killing the witch
Homura travelling back in time

Episode 10 end card by Kuroe Mura
Homura hugs Madoka in Episode 11


Homura's transformation sequence before fighting Walpurgisnacht


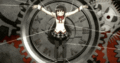
Homura tied up on the wheel of time

Episode 11 end card by Buriki
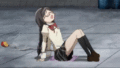
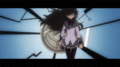
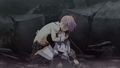
Homura crying in Episode 12

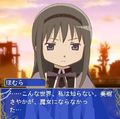
Homura wearing Madoka's ribbon in Madoka's new universe

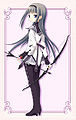
Homura using bow and arrow similar to Madoka's against Wraiths

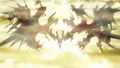
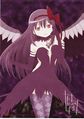
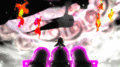
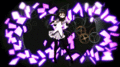
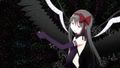
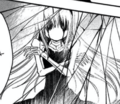
Homura with witch-like wings

Episode 12 end card by Ume Aoki
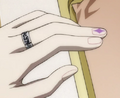
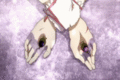
Homura's ring and fingernail
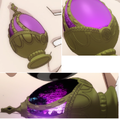
Homura's Soul Gem


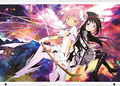
The Rebellion Story
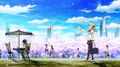
Homura in the opening from Rebellion
Homura's ear-cuff. It reads HOMULILLY (Homulilly)

Homura's the only girl who doesn't dance
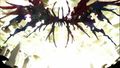
Devil Homura is hinted at at the very beginning

Homura's introduction and her Soul Gem ring
The end of Homura's transformation


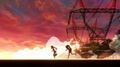
Homura and Kyoko running to Kazamino city


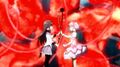
Homura versus Mami

Sayaka stops Homura's time pausing


The signs at the bus stop describe Homura's witch form


Homura deep in despair

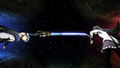
Madoka and Homura with their bows

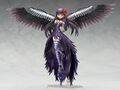
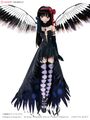
Devil Homura

Homura in the new world


Homura ends up all alone


Concept Movie


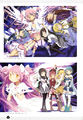
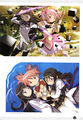
Manga
Original Manga

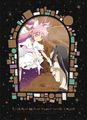
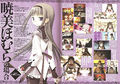
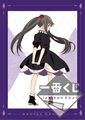
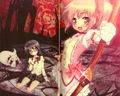
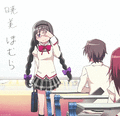
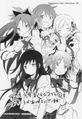
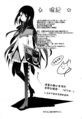
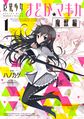
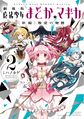
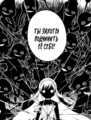
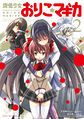
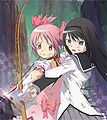
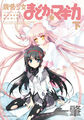
Manga cover, volume 1

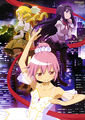
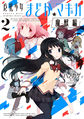
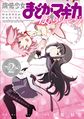
Manga cover, volume 3
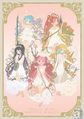
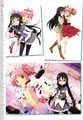
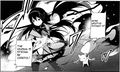
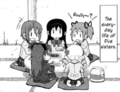
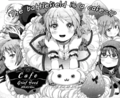
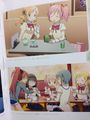
Bonus illustration from the manga
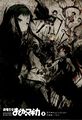
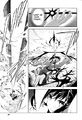
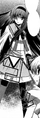
An illustration of Homura with her differently designed shield


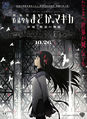
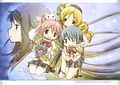
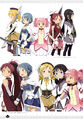
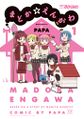
Wraith Arc
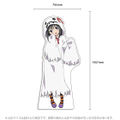
Wraith Arc cover, volume 1
Wraith Arc cover, volume 2

Wraith Arc cover, volume 3

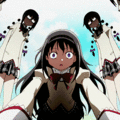
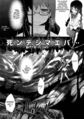
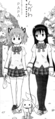
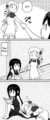
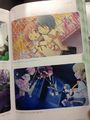
Homura as a transfer student in the Wraith Arc

Homura unleashing her attack
Note how Homura's attack summons a magic symbol similar to Madoka's
Homura has the ability to transform her magic arrow into a birdlike form


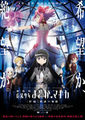
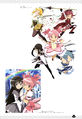
The Rebellion Story

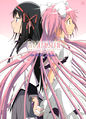
Rebellion manga cover, volume 1
Rebellion manga cover, volume 2
Rebellion manga cover, volume 3
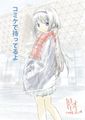
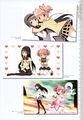
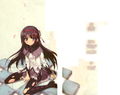
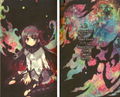
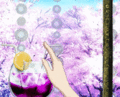
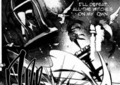
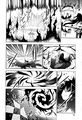
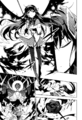
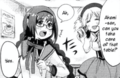
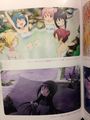
A glimpse of Homura's witch during her fight with Mami
Half witch Homura


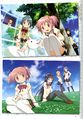
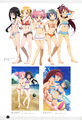
The Veranda of Madoka
The Veranda of Madoka cover, volume 1

The Veranda of Madoka cover, volume 2

The Veranda of Madoka cover, volume 3
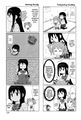
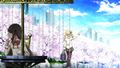
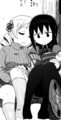
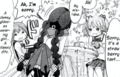
Homura in The Veranda of Madoka
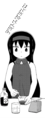


Welcome to Café Grief Seed!
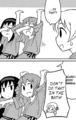
Homura in Welcome to Café Grief Seed!


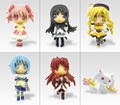
Other Manga

The Different Story cover, volume 3
Oriko Magica cover, volume 3
Homura as she appears in Oriko Magica

Madoka Magica Anthology 2

Homura's Revenge cover, volume 1
Homura's Revenge cover, volume 2

Sute Ma! cover, volume 1

Mitakihara Anti-Materials cover, volume 1

Mitakihara Anti-Materials cover, volume 2

Homura Tamura cover, volume 1

Homura Tamura cover, volume 2

Homura Tamura cover, volume 3

Mahou Shoujobu cover, volume 1

Mahou Shoujobu cover, volume 2
Mahou Shoujobu cover, volume 3

Floating Madoka cover, volume 1

Floating Madoka cover, volume 2

Floating Madoka cover, volume 3

Kanameke cover, volume 1

Akemi Homura Will Try Harder Tomorrow! cover, volume 1
Come in! Magica Bookstore cover, volume 1

4Koma Anthology cover, volume 1

4Koma Anthology cover, volume 3


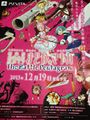
Games
Madoka Magica Portable

Promotional Art for Madoka Magica Portable

Art from the true ending

Homura's transformation

Profile from the official website
Homura on the title screen of Mami's Heart Pounding Tiro Finale
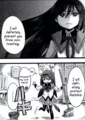
Madoka holds a dying Homura in Homura's route. She won't contract, Homura's wish has come true

Homura comforts a crying Hitomi after she lets Sayaka confess to Kyosuke in the Bonus Route


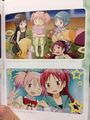
Madoka Magica Mobage
Homura from Madoka Magica Mobage
Homura in the event The magical girl who leapt through time


Hanagasumi special art
Summer special art

Tanabata special art


Shopping mall special art
Summer special 2 art

Sports day card
Halloween card

Christmas card

New Years card

Valentines day card


Hinamatsuri card
- HomuraTanabataCards.png
Tanabata card


Shopping card


Madoka Magica Online
Promotional art for Madoka Magica Online

CP cards that give exclusive items
Promotional art
Wallpaper
Homura in the tutorial section

Homura closeup

Skill activation image

Homura's sprite
Profile


Madoka Magica: The Battle Pentagram
Promotional art for The Battle Pentagram
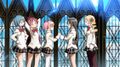
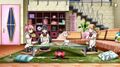
Homura and friends in an Onsen

Homura and Madoka hold hands and Homura briefing the other magical girls
Homura at a sleepover with the other girls
Homura battling with the other girls
Sayaka holding Homura's hand and Homura with the other girls
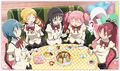
Homura at a tea party

Homura having tea with Mami
Homura treating Kyoko


Profile
- Specialcostumes.png
Swimsuit outfit and plaits for Homura

Pyjamas outfit for Homura

Homura and Mami are Tiro Esplosione


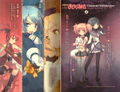
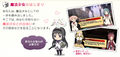
Merchandise

Blu-Ray Volume 1 cover

Blu-Ray Volume 5 cover

Blu-Ray Volume 6 cover

Blu-Ray Volume box cover
Beginnings DVD cover
Eternal DVD cover

Music collection CD cover

ClariS: Connect (Anime Edition) single cover
Kalafina: Magia ED (Anime Edition) single cover

Kalafine: Hikari Furu (Anime Edition) single cover

ClariS - Colorful (Anime Edition) single cover
Kalafina - Kimi no Gin no Niwa (Anime Edition) single cover

Novel cover

The Beginnings Story book cover

Guidebook cover
Movie Guidebook cover

Rebellion Guidebook cover
Key animation note cover, volume 1
Key animation note cover, volume 5
Rebellion Material Book back cover
Art from the Rebellion Material Book
Nitro+ Novel cover, volume 1
Nitro+Novel cover, volume 2

Puella Magi Madoka Magica The Illustrated Book cover by Hanokage
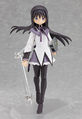
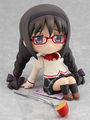
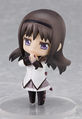
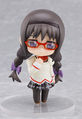
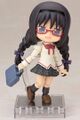
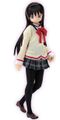
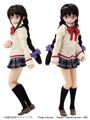
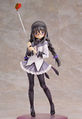
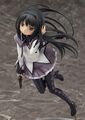
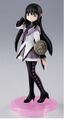
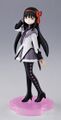
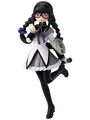
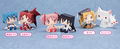
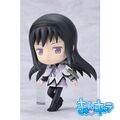
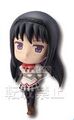
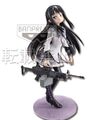
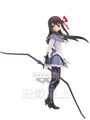
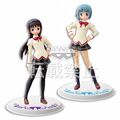
Homura Figma
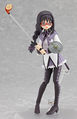
Glasses version
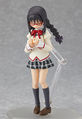
School Uniform version
Devil Homura version
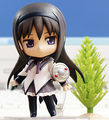
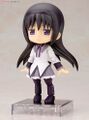
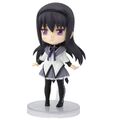
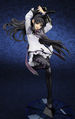
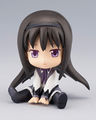
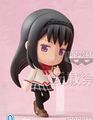
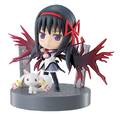
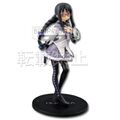
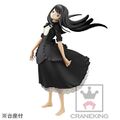
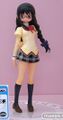
Homura Nendoroid
School Uniform version
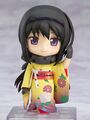
Haregi version
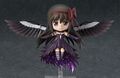
Devil Homura version
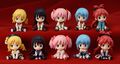
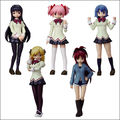
Nendoroid Petit
School Uniform version
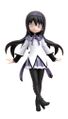
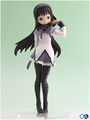
Cu-Poche
School Uniform version
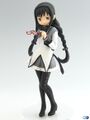
Figuarts Mini
Version 2
Real Action Heroes
School Uniform version
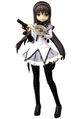
Hybrid Active Figure
Glasses version
Devil Homura version
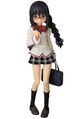
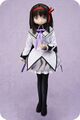
PureNeemo
PureNeemo Glasses version
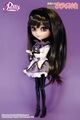
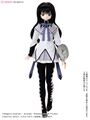
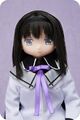
Pullip doll
Uniform
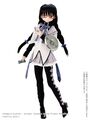
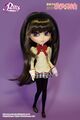
Liccarize doll
Regular hairband
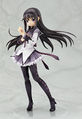
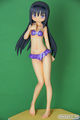
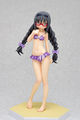
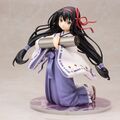
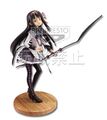
GSC 1/8 Scale Figure
You are not alone version
Movie version

Yukata version
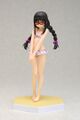
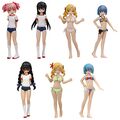
Wave's Beach Queens
Dengeki Special version

1/8 DreamTech Swimsuit
Movic's Color Collection
Rebellion Color Collection
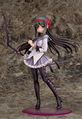
Bandai's Magical Girl Collection
Ribbon version
Glasses version
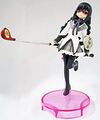
Golf club version
Gift's Homura figure
1/8 Miko figure
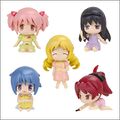
Petanko Madoka Magica
Petanko Mini!
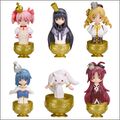
graphig++ Puella Magi Madoka Magica the Movie
Half Age Character

Clear version
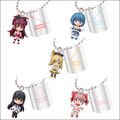
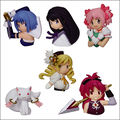
Movic's Voice Mascots
Cutie Figure Mascots
Surfers Paradise Phone Cleaner with Figurine Strap
Kyun-Chara Homura


Ichiban Kuji Premium figure
Banpresto Prize SQ Figure
Banpresto Prize DX Figure
Takara Tomy Arts Little Mascot
Takara Tomy Arts SR Magical Girl Madoka Magica
Sports uniform version
Takara Tomy Arts Paja Mascot
Takara Tomy Arts Chess Piece Collection
Takara Tomy Arts Relief Magnet


